Training Schools > Configure Settings
Setting up your SafetyNest site
The first steps to setting up your new site are simple.
Staff
Individual Logins
These settings will determine how these Safety Nest features are used for your kura.
NOTE:
we can do on-page links from the list to the section it responds to
1. Setting up your physical site
The first step to getting started with SafetyNest is to set up all of your sites and site settings.
This is important because it will allow you to later attach any accidents, injuries, or incidents that happened to the actual area that they happened in
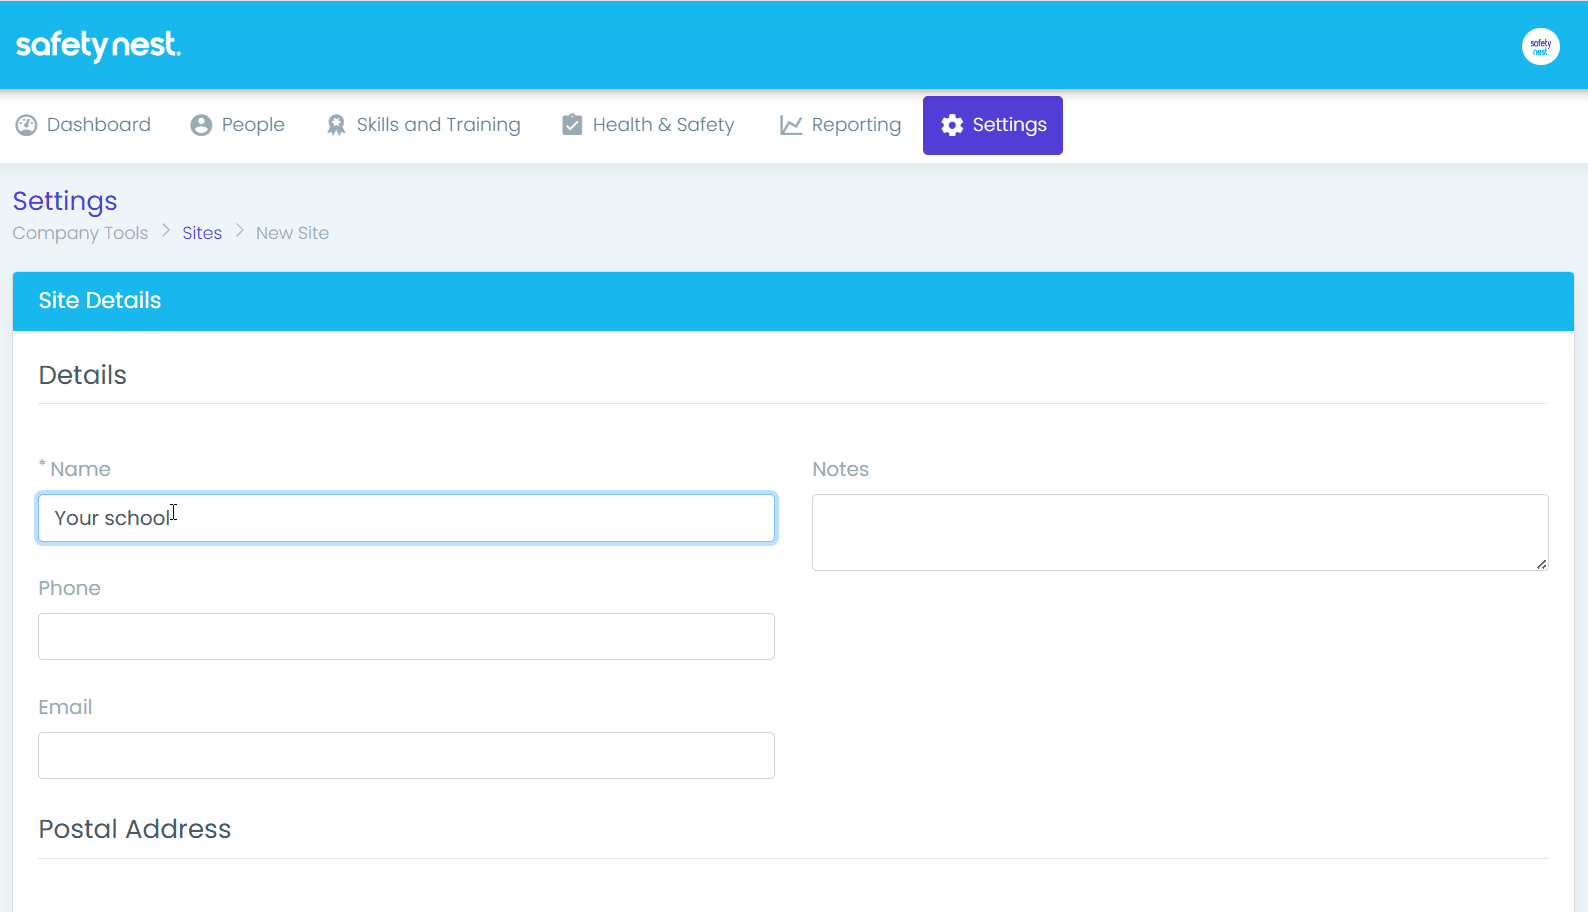
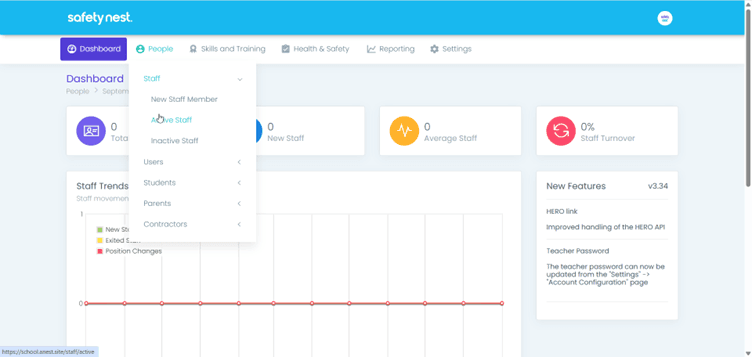
Settings < Company Tools < Sites < New Site
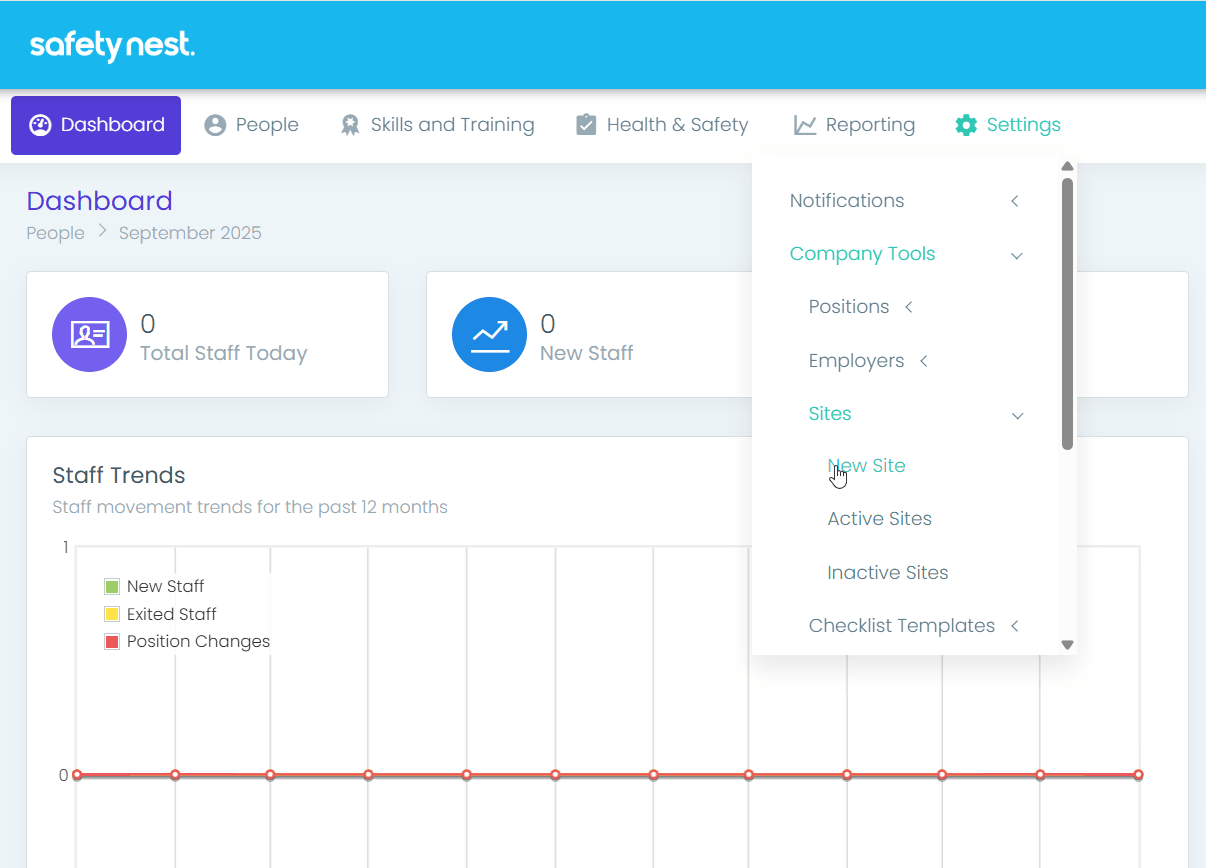
You need to add two new sites - Your school and Offsite
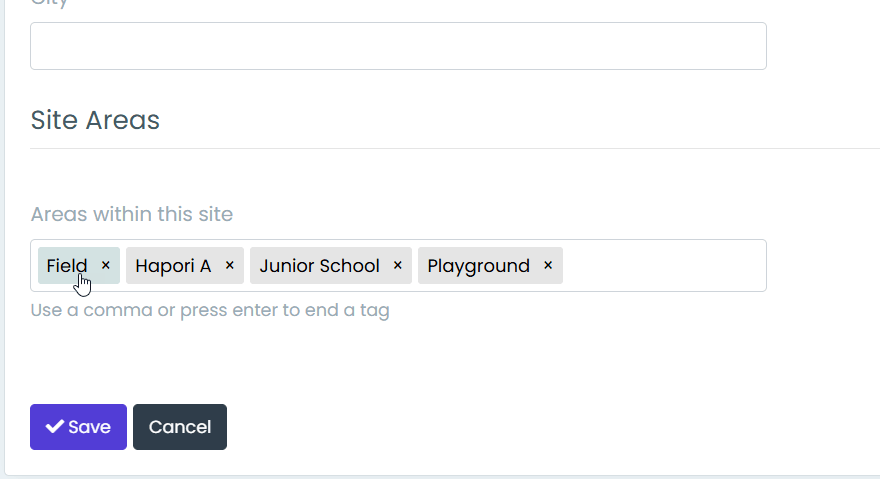
Now enter the different areas of your school and click save.
General Settings Explanation And Recommendations
This is where we will set up all your general site wide settings.
The first setting you’ll see are your general settings:
2. Here you will simply choose any holidays that your team will not be required to complete any site checks.
By default, all of the NZ National Holidays are selected. But, make sure that you select your regional-specific holidays or centre-specific shutdown days.
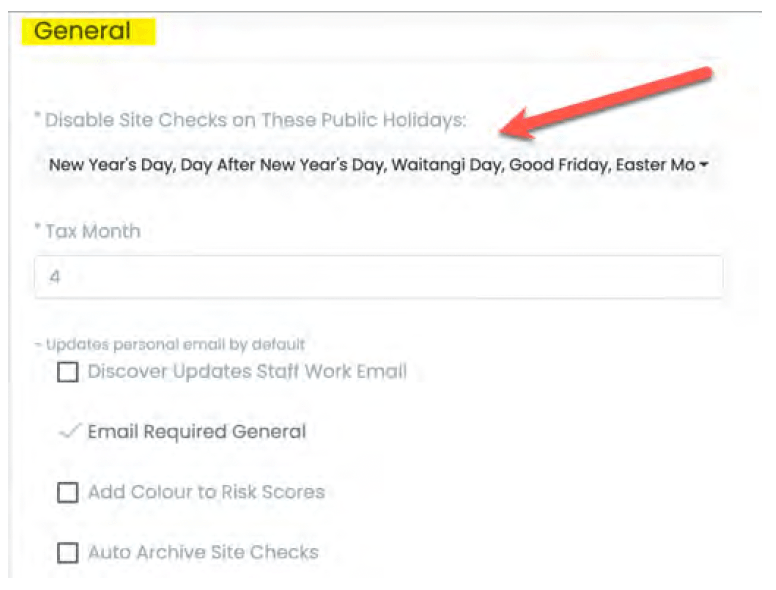
3. Next you will select your tax month (choose a numerical month).
4. Then there are three optional tick boxes:
Discover Updates Staff Work Email:
If you are using Discover, and tick this box, your staff emails will automatically come across from Discover.Add Colour to Risk Scores:
If you turn this on it will add a traffic light colour system to your Risk Register once this is set up.Auto Archive Site Checks:
If selected, this will archive your Site Checks after 30 days, so that they no longer appear on your screen. They won’t be deleted, they will just be hidden.
5. Next you need to set up your Teacher report settings:
This is the access that your Teacher’s have under their shared login.
We recommend that you keep “Choose Event Type” unselected for the first month of so of using Safety Nest, or until yourTeachers know the difference between an observation, a near miss or an injury.
Reporter required:
Ticking this box will mean that Teachers will have to type in their name when theyare reporting any observations or incidents.Choose Location Type:
This will require people to select whether incidents happened onsite or offsite. I recommend keeping this box unticked, but you can keep it ticked if you wish to.Choose Event Type:
When ticked, this will require your Teacher to select whether an event was an observation, a near miss, an incident or an injury.Allow Escalation:
By clicking on “allow escalation” that enables your team have the ability to click on the inform management buttons, which will set off the email chains.Record Risks Involved:
Once you have your risk register set up, clicking this option will enable your Teacher to choose which one(s) of your risks were involved in an event. For example: If you have your Swings listed in your Risk Register, clicking this box will allow the Swings to appear in a drop-down box for your Teachers to select.Choose Event Area:
When you set up your sites, we encouraged you to set up different areas of your site. For example Indoor and Outdoors, or your different classrooms. Ticking this box will allow Teachers to select from a drop-down box of where an event or incident occurred.
Here’s a reminder for what each type of event means:
An observation is two or more steps away from an incident or injury occurring
A near-miss is one step away from an incident or injury occurring
An incident is where something is broken
An injury is where someone is hurt.